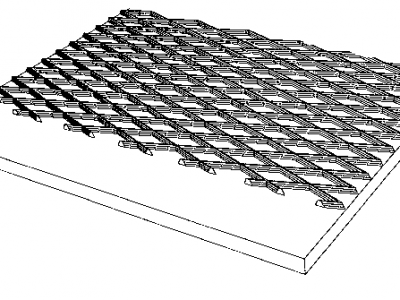
1. For rough top belt, skive back 3⁄4” to 1” from belt end.
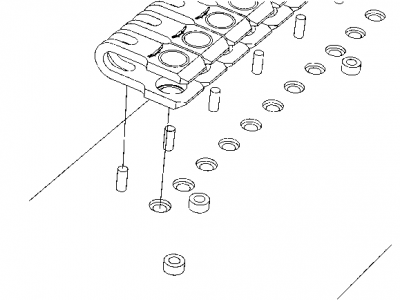
2. Insert fastener strip into tool with Alligator logo face up.
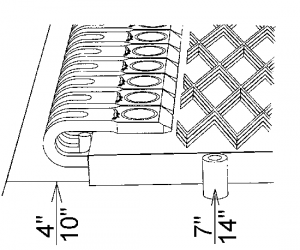
3. Insert belt in fastener strip against belt stops and belt edge stop pin for 7” and 14” belts. For 4” and 10” belts, align belt edge with line.
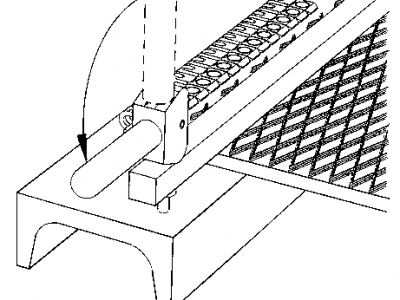
4. Clamp belt securely. (NOTE: Clamp levers are adjustable.)
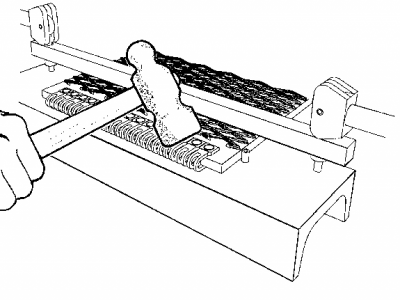
5. Tap down all fasteners with a 1-pound hammer.
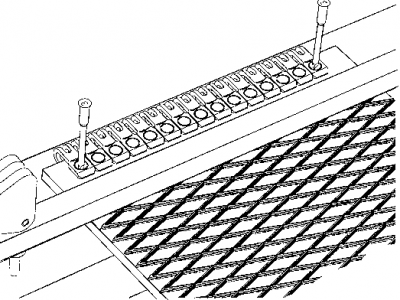
6. Using a 1-pound hammer, drive a rivet through the hole in the last fastener at both ends of the fastener strip. Do not final set rivets.
7. Drive remaining rivets. Do not final set rivets.
8. Final set rivets hitting each one approximately 8 times. Do not set rivet in one hit. There should be no space between fastener plates and belt surface.
9. Remove belt from tool. Inspect underside of fasteners to ensure the rivet is formed properly.
If not, return to tool and continue to install. It is important that the nails remain in the tool during this step.
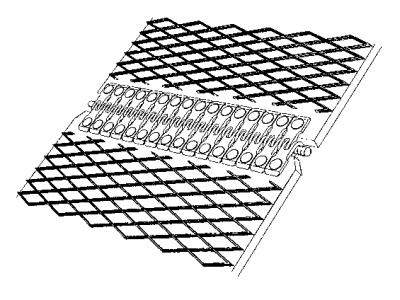
10. Notch trailing edge of belt on both sides. Bring belt ends together and insert corrugated pin. Remove nails from the tool.
