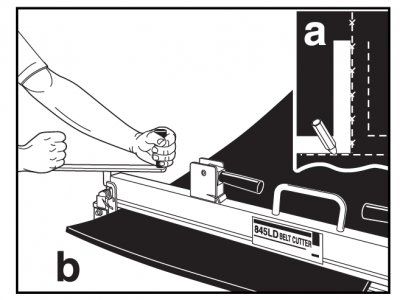
1. (a) Square belt using centerline
method. (b) Cut belt using Alligator®
300 Series Wide Belt Cutter or Clipper®
845LD Belt Cutter.
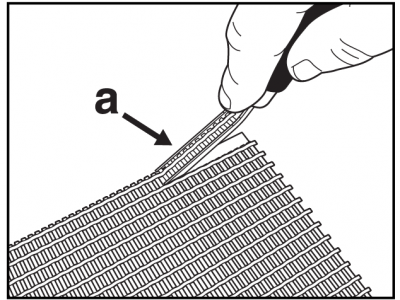
2. Select correct fastener size. See installation
tool setup instructions. (a) Skive rough-top
belt using Flexco skiving products.
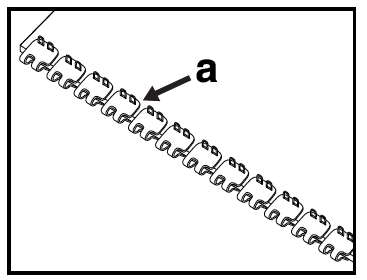
3. Place belt on solid surface for support.
Center fastener strip, equal distance from
the belt ends. (a) Staples should be facing up.
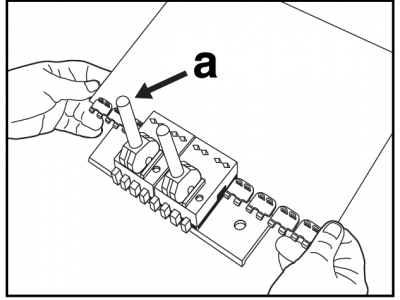
4. Center fastener strip in installation tool.
(a) Cam lever(s) should be up.
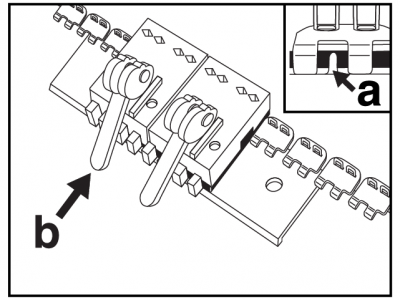
5. Belt end should be tight against the fastener
(a) belt stops and fastener strip should be tight
against the tool. (b) Depress cam lever(s).
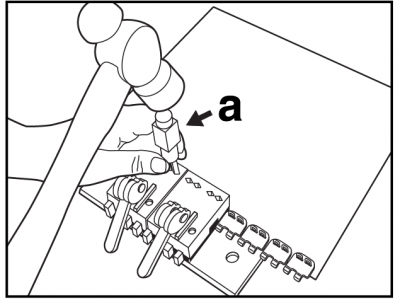
6. Starting with the center fastener plates,
strike (a) staple driver with a 1 lb. (0.5 kg)
hammer. Do not overdrive staples.
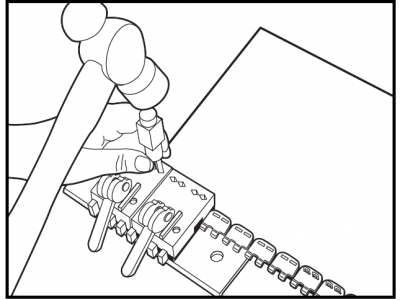
7. Drive belt ends next. Raise cam lever(s).
Reposition tool, repeating step 5. Strike
staple driver with a 1 lb. (0.5 kg) hammer.
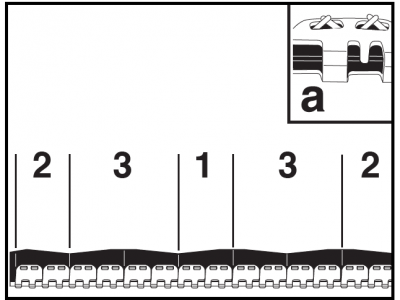
8. Follow the sequence shown above to drive
all remaining fasteners. (a) Staples will be
partially clinched.
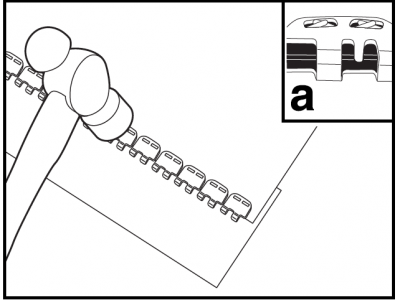
9. Set fastener strip fl at on ST-28 setting
plate. Strike top-side of fasteners and staples
with fi rm hammer blows. Move back and
forth across fastener strip until (a) staples
clinch. Avoid hitting fastener
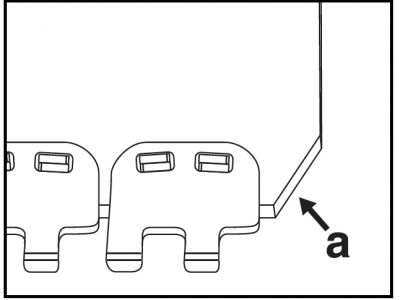
10. Using Belt Nippers, (a) notch trailing
edge of belt only. Notch at an angle.
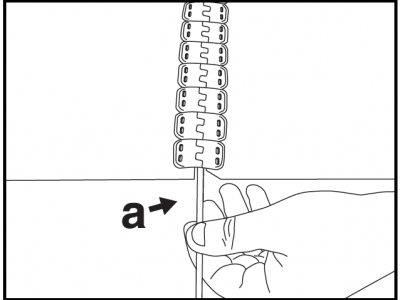
11. Bring belt ends together and (a) insert
hinge pin. If retaining washer is used, crimp
with pliers. Splice is complete.
